Email feels quick and simple. You type a few lines, add a file, and click send for many messages, which works fine. For anything with patient data, money details, HR notes, or contracts, you often need more protection.
Encrypting an email adds that extra layer. The message is converted into coded data that only approved recipients can read. Staff, patients, and clients keep the same inboxes, yet hidden parts of the system work much harder to guard their information.
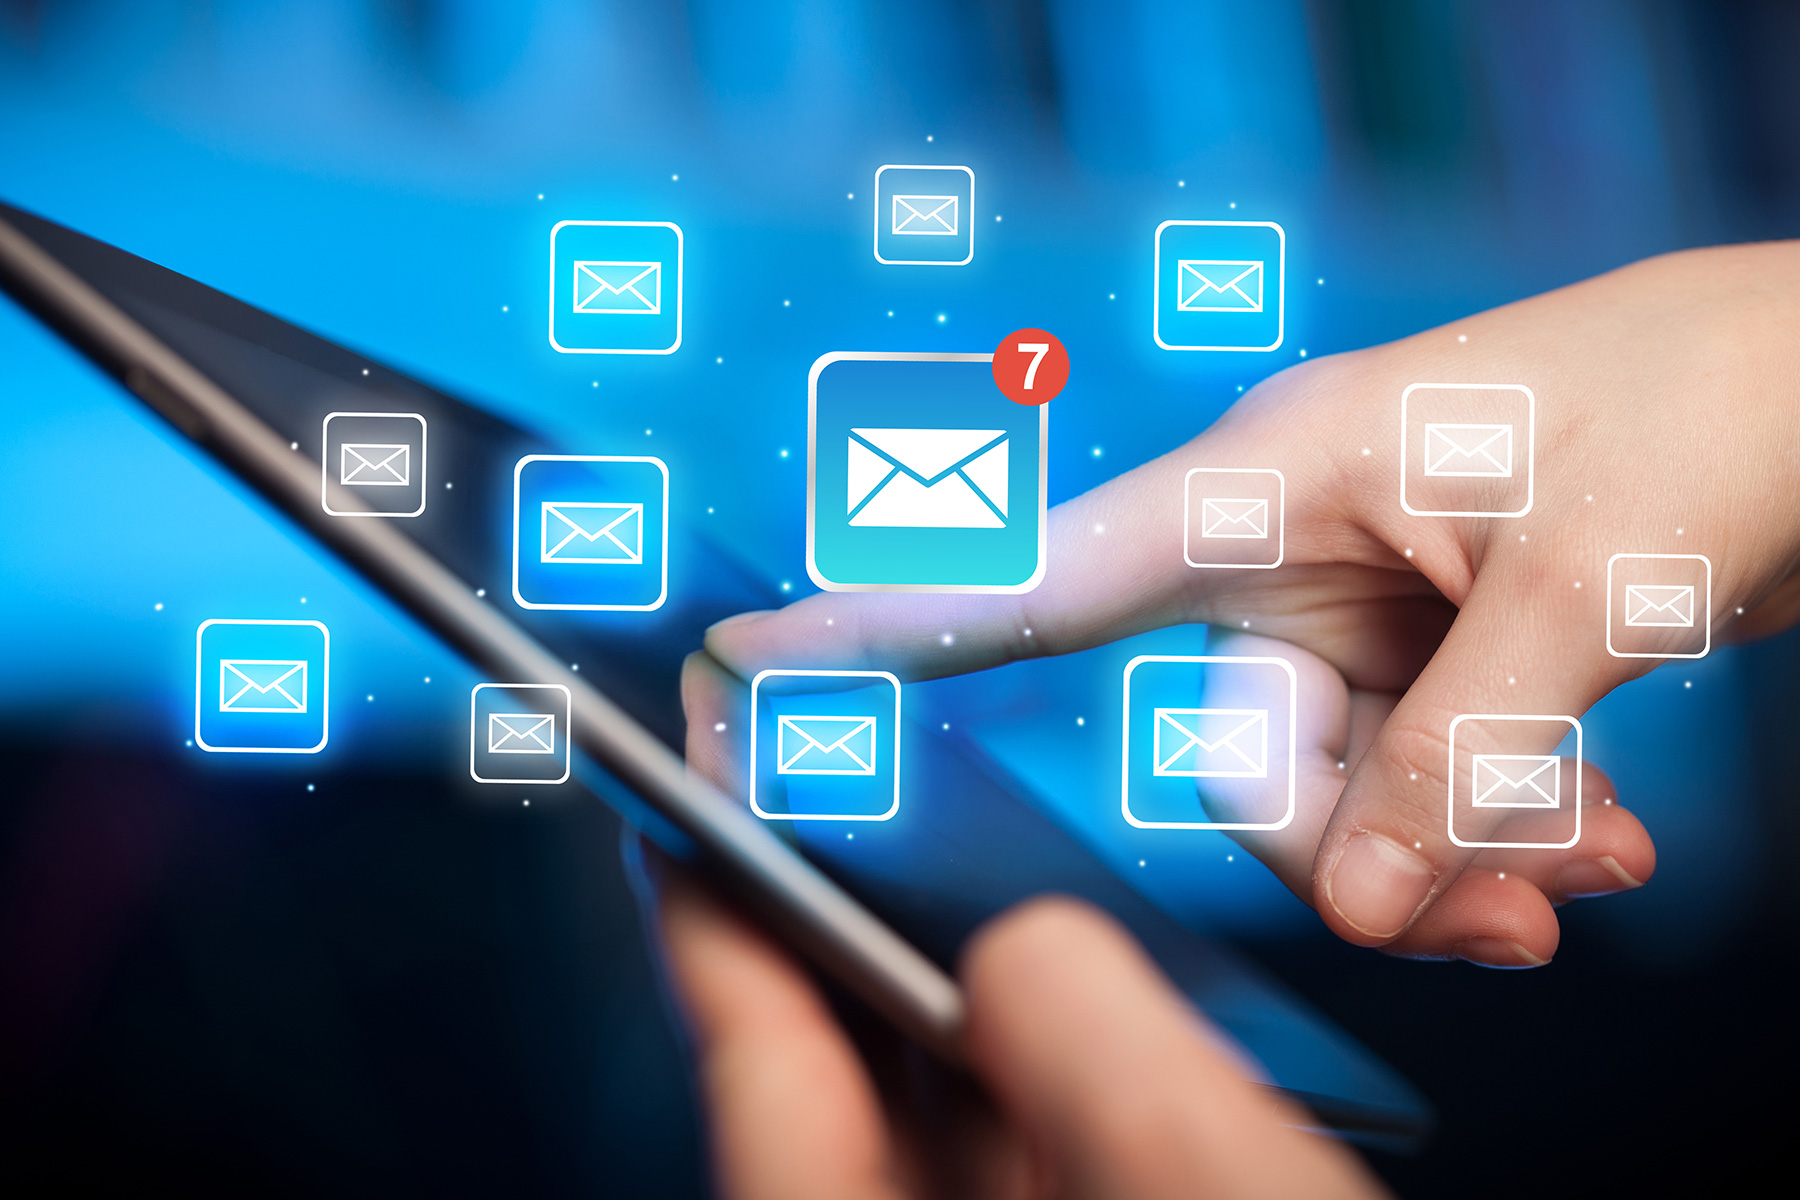
This guide walks through how to encrypt an email step by step in plain language. You do not need to be technical to follow along.
What email encryption does
Email encryption changes the body of the message and often the attachments into protected code. The content no longer sits in plain text on every server that moves it. Anyone who grabs a copy without permission sees only random characters.
Your email tool or secure portal then uses keys or passcodes to convert that code back into readable text for the intended reader. From the user side, that step feels simple. They open the message or sign in to a secure page, and the words appear.
If you want a deeper background first, the MailHippo guide on email encryption provides a friendly overview.
Before you start
Know your email service or app
Start by writing down which email system you use most. That might be Outlook with Microsoft 365, Gmail with Google Workspace, a clinic system, or a personal address. Each one handles encryption in its own way.
Business platforms often include built‑in protection that your IT team can turn on for you. Webmail tools may offer plugins or a connection to a secure email service. Some specialist services focus solely on encrypted email and provide a separate portal.
Once you know your main platform, you can look up its options for secure sending. That makes the rest of this guide easier to apply.
Check the recipient’s setup.
Next, think about the person who will receive the email. Staff inside your own company often use the same tools as you. Patients, clients, and outside partners may use anything from free webmail to old office systems.
Some encryption methods work best when both sides use the same system. Others send a simple notice email with a link to a secure web page. Outside, people read the message.
If most of your recipients are external and non-technical, a portal-style approach tends to cause fewer headaches. If most users are staff within a single domain, direct encryption in the email app may work well.
Decide if message-only protection is enough or if files need protection too.
Think about what you send most often. Many emails contain content only in the body. Others carry lab results, reports, and contract drafts as attachments. In a breach, those files can create bigger trouble than the short text around them.
If your messages rarely include attachments, simple message body encryption may cover most of your risk. If you send many reports, X-rays, or financial files, you need a plan that clearly protects attachments.
MailHippo’s guide on how to encrypt email attachments looks at that side in more detail. For now, keep in mind that both the text and the files matter.
The main ways to encrypt an email
Built-in encryption in your email service
Many business email platforms include some form of content protection. Microsoft 365, Google Workspace, and similar tools can enable encryption via an account setting or a button in the compose window.
In these systems, you often see options such as “Encrypt”, “Confidential”, or “Do not forward”. These labels tell the platform how to treat that message. Behind the scenes, it may use S‑MIME, rights management, or a secure portal.
For staff, this route feels natural. They stay in the same inbox and send window they know. The main change is one extra click for sensitive messages.
Portal-based protected delivery
Portal-based systems keep the full message and attachments in a secure web page. The email in the recipient’s inbox holds only a short notice and a link. The real content waits behind a login screen.
On your end, write the email and choose a secure send option. The service moves your text and files into the portal and then sends a notification email to the recipient.
On their end, they click the link, complete a quick check, such as entering a password or code, and read the message in the portal. This works very well when patients or clients use many different email providers.
PGP
PGP email encryption uses public and private keys for each person. It gives strong end-to-end protection when set up well. Many technical users and privacy fans like this method.
With PGP, you use the recipient’s public key to encrypt the email. Their private key then decrypts it. Raw PGP requires additional software or plugins and suits power users more than busy front-desk staff.
Some secure email services run PGP in the background and hide the complex parts. Staff presses the secure send button, and the system handles key use behind the scenes.
S‑MIME
S‑MIME uses certificates that link keys to people or roles. Many firms and health networks already use it inside Outlook and Apple Mail. It is very common in corporate setups.
Your email client uses the recipient’s certificate when sending an encrypted email. The recipient’s client then uses a private key to decrypt it. Once IT has set this up, staff see only small icons and choices in their normal email windows.
S/MIME works best when you have an IT team and many staff members within the same company domain. It feels less natural for solo users or outside patients.
Password-protected files sent by email
Some people protect content by locking the file instead of the message. They send a password-protected PDF, Word document, or ZIP file as an attachment. The body of the email stays plain.
This method can help when a fully encrypted email is not in place. You gain at least some protection for the file itself. You still need to send the password more safely, such as by phone or text.
The MailHippo guide on password-protected file sharing explains this style in depth. For now, treat it as a handy backup option, not your only defense.
How to encrypt an email with built-in settings
Find the encryption or security option
Open a new message in your normal email app. Look around the compose window for words such as “Encrypt”, “Protect”, or “Options”. Some tools hide these choices behind a small padlock icon or a menu.
If you do not see anything in the message window, check account settings. Business accounts often let admins add a “Send secure” button or a similar option. You might need help from IT or your email provider to turn it on for the first time.
Once you find the option, send yourself a quick test note and click it. That will show you what changes on screen when you choose protection.
Choose the protection type.
Some platforms offer more than one level. You might see choices such as “Encrypt only” and “Encrypt and restrict forwarding”. You might see modes that keep messages inside your company only.
Start with the simplest option that encrypts the content. Later, you can add stricter settings for messages that include health, legal, or money details. Staff often like a clear rule, for example, “encrypt any message that mentions a patient or invoice”.
If you feel lost in the labels, your IT contact or provider can explain how each setting works in their system.
Add your message and attachments.
Once you have chosen a protection level, write your email as usual. Add your subject, body, and any files you need. The content will be encrypted when you click send, not when you type it.
Take care with the subject line. Many systems do not encrypt that part, even when the body is protected. Use neutral text such as “Your report” rather than full names or detailed diagnoses.
Attach any needed files. In most built-in tools, attachments gain the same protection as the message body. For very sensitive documents, you can add extra file-level encryption, which this guide covers later.
Send a test message first.
Before you rely on a new setup, send a test email. Use the secure option and send it to a colleague or test account. Ask them to open it on both a computer and a phone.
Watch how the message looks on each device. Note any extra steps, such as sign-in pages or passcodes. This short exercise shows you what patients and clients will see.
If anything feels confusing or slow, talk with your IT partner or provider. Small tweaks in settings can make a big difference in real use.
How to encrypt an email with PGP
What you need
To use PGP directly, you need software that supports it. That might be a plugin in your email client or a separate secure email app. You also need a PGP key pair for each person who will send or read encrypted email.
A key pair has one public key and one private key. You can share the public key with others. You must guard the private key with a strong passphrase and store it securely.
Some secure email platforms create and manage these keys for you. In that case, you only see simple buttons in the app, not the keys themselves.
How keys are used
When you want to send someone a PGP-protected email, your software uses their public key. It encrypts the message body and often the attachments. That output can only be opened by the private key that matches that public key.
On the recipient side, their software uses the private key and its passphrase to decrypt the content. The coded data turns back into clear text and normal files.
This model provides strong end-to-end protection. Only the holder of the private key can read messages locked with the matching public key.
Basic sending flow
First, make sure you have the recipient’s current public key in your key list. Many tools can import it from a file or fetch it from a server. Then open a new message in your PGP-aware email tool.
Write your email, attach any files, and choose the PGP encrypt option. When you click send, the tool encrypts everything and hands the coded message to the mail system.
From the recipient’s perspective, their tool detects that the message is PGP-protected. It prompts for the passphrase if needed, then shows the clear text on screen.
How to encrypt an email with S‑MIME
What you need
For S‑MIME, you need a digital certificate for your email address. Your company may get these from a certificate authority and push them to staff devices. Personal users can buy or request them from several providers.
You install the certificate in your email client. Outlook and Apple Mail both have steps for this in their settings. Your IT team can often handle this for you.
You may also need public certificates for people you want to send an encrypted email to. Many clients store these automatically when someone sends you a signed message.
How certificates are used
A certificate links a public key to a person or role. It may say this key belongs to “Dr. Jones at Example Dental” or “Billing at Example Law”. Your email client trusts that link because a known authority signed the certificate.
When you send an S/MIME-encrypted email, your client uses the recipient’s public key from their certificate. It encrypts the message so that only the private key corresponding to that certificate can decrypt it.
On the recipient side, their client uses their private key to decrypt and show the message. That private key often sits in the device key store or in a smart card.
Basic sending flow
Once certificates are in place, open a new email in your client. Look for a small icon or menu that mentions S‑MIME, encryption, or signing. Tick the box or click the lock icon for encryption.
Write your message, add any files, and send. Your client encrypts the content and sends it as a normal email. The recipient opens it in their S‑MIME-aware client and reads the text in a normal view.
For mixed setups, your IT team can set rules that sign all messages and encrypt only those that match certain triggers.
How to encrypt attachments
PDFs
Many clinics and firms send PDFs with reports or invoices. You can add a password inside the PDF itself before you attach it. The person then needs the password to open the file in their viewer.
This provides file-level protection, even if the email body is plain. It works across many systems and requires no extra software on the recipient side. You still need to share the password through a safer path, not in the same email.
The MailHippo guide on how to encrypt a PDF for email walks through the menu steps in common PDF tools.
Office files
Word, Excel, and PowerPoint all have options to add a password to a file. The file then asks for that password each time someone opens it. That keeps contents out of sight in most storage and email systems.
You can use this option for payroll spreadsheets, patient lists, or draft contracts. Just like PDFs, the password should travel in a different channel.
File-level protection works well as an extra guard. For the best result, combine it with an encrypted email or a secure portal.
Zip files
You can place several documents into a single ZIP file and add a password to it. The person then unpacks the ZIP with the password and gains access to all files inside.
This helps when you send a bundle of files together. It keeps the group under one lock rather than many separate ones.
Not every ZIP tool uses strong encryption, so pick a current tool from a trusted source. For high-risk data, many teams now prefer encrypted portals over ZIP files.
What your recipient may need
A passcode
Some systems send a one-time code to your recipient’s phone or an alternate email address. The person enters that code before they can read the message. The code then expires.
This gives a second proof of who they are. It stops many attempts where someone gains access to an inbox but not to the linked phone.
Recipients should know that legitimate services never ask them to share these codes via email.
A certificate or key
In PGP and S‑MIME setups, recipients often need keys or certificates on their devices. Your IT team or secure email provider usually sets this up.
From the user side, the effect is simple. They may type a passphrase once for their key, then read messages without extra work.
If a person changes devices, someone must move or renew their keys or certificates. Plan for that before you roll out these methods at scale.
Access through a secure web page
Portal-based services ask recipients to read messages via a secure web page. The person clicks a link in a short notice email, then signs in to the portal.
They may need to pick a password the first time. They may need a one-time code for each visit. Once inside, they read and reply in a browser.
This route often works best for patients and clients who use many different email tools. They only need a browser and a simple set of steps.
Common mistakes to avoid
Sending the password in the same message
Many people protect a PDF or ZIP with a password and then send that password in the body of the same email. Anyone who gets that email gets both pieces at once.
Send the file by email and the password through a different channel. A phone call or text works better. Use simple phrases so the person knows which file the password matches.
For high-risk data, a secure portal or fully encrypted email often gives a safer path than password-only files.
Forgetting attachments
It sounds basic, yet it happens all the time. Someone writes “see attached” and forgets to add the file. Then they send a second message with the missing document, sometimes without the same level of protection.
Before you hit send on a secure email, take one short pause and scan the attachment area. Make sure every promised file appears there and that you used the secure option on the message that actually carries the content.
Small habits like this reduce follow-up emails and leaks.
Assuming the subject line is hidden
Many people think encryption hides every part of the message. In reality, the subject line often stays in plain text. Inboxes, logs, and phone alerts can all show it.
Avoid including full names, test types, diagnoses, or account numbers in the subject line. Keep that line simple, and move the details into the body or into a file where encryption has more effect.
Train staff on this with a few real examples. A small change in wording can avoid a lot of risk.
Using regular email for highly sensitive data
Regular email still feels private to many people. They may send master passwords, full card numbers, or raw medical charts without a second thought.
Use an encrypted email or a secure link when the data would seriously harm someone if it leaked. Master login codes, full payment card details, and full record exports should not live in plain email at all.
MailHippo’s guide on sending a secure link shows safer ways to share the most sensitive items.
How to check if your email was encrypted
After sending, open the message from your Sent folder. Look for small lock icons, labels, or banners that mention encryption or protection. Some tools show a padlock near the subject, others show a line that says “This message is encrypted”.
In portal-based systems, your Sent list may show that the content is in a secure message rather than in the email itself. The notice email will look short and plain.
If you cannot see clear signs, ask your IT contact or provider to walk you through one example. They can point to the exact markers that mean “this message went out protected” in your platform.
When to use encrypted email
Use an encrypted email when a leak would cause real harm to the person named in the message. That includes health records, ID numbers, pay data, legal issues, and private client details.
Think about how you would feel if that email appeared on a notice board in your waiting room. If that thought makes you uncomfortable, send it in encrypted form.
Over time, many teams build simple rules. For example, “encrypt any message that includes full name plus date of birth” or “use the portal for any full lab report”. Clear rules help staff move fast and stay safe.
When to use a secure link instead
Some data is too sensitive or too powerful for email, even in encrypted form. That includes master passwords, long-term keys, and server access details. In those cases, a secure link or a secret-sharing tool is a better fit.
With a secure link, the secret sits in a special service. The email contains only a one-time link. Once the person opens it, the link can expire, and the secret can vanish from the service.
This limits how long the data lives and how many copies exist. For teams that frequently move logins and keys, MailHippo’s guide on sending a secure link provides clear next steps.
Common questions
How do I encrypt an email?
The exact steps depend on your email tool. In simple terms, you turn on a secure or encryption option, write your message, attach your files, and send. Your system then handles the coding in the background.
This guide covered built-in options, portal-based methods, PGP, S/MIME, and password-protected files. If you want a shorter walkthrough focused on sending, see the MailHippo article on sending encrypted email.
Can I encrypt an email for free?
Many email services include basic encryption in transit at no extra cost. Some offer end-to-end protection for certain accounts or within a single domain. There are free tools for PGP and password-protected files.
Free options often require more setup and learning. Paid secure email services tend to hide the complex work and add support. Start by checking what your current provider already offers.
Does encryption cover attachments?
In many modern systems, yes. When you send an encrypted email, the platform protects both the body and the attachments. They travel and sit on servers in coded form.
Still, not every tool behaves the same way. For very sensitive documents, you can add file-level locks on top of them. The guide on encrypting email attachments explains how to do so clearly.
Can the recipient forward an encrypted email?
People can press forward on almost any email. With encrypted messages, the effect of that forward change is determined by the system. Some tools keep the content tied to the original recipient account, so a forward sends only a link or shell.
If the recipient copies text from a decrypted view into a new plain email, that new message will not stay protected. Training and simple rules help staff avoid that step for private content.
Ask your secure email provider how forwarding behaves in their setup, then share that answer with your team.
Read next
For a focused guide on sending, see “How to Send an Encrypted Email.” It builds on this article with concrete sending examples.
If you want to go deeper on protecting files, read how to encrypt email attachments. That guide links file locks with secure email in clear steps.
For teams that rely heavily on PDFs, the article on how to encrypt a PDF for email walks through the exact menus in common tools.